
Hello, my friends!
Today, I’ve got another recipe post for you: easy and homemade soft pretzels. I have many memories of making these during COVID with my mom and siblings. They’re delicious, and so much better than any out-of-the-box soft pretzel then you can buy at the store.

Read on for this yummy pretzel recipe!
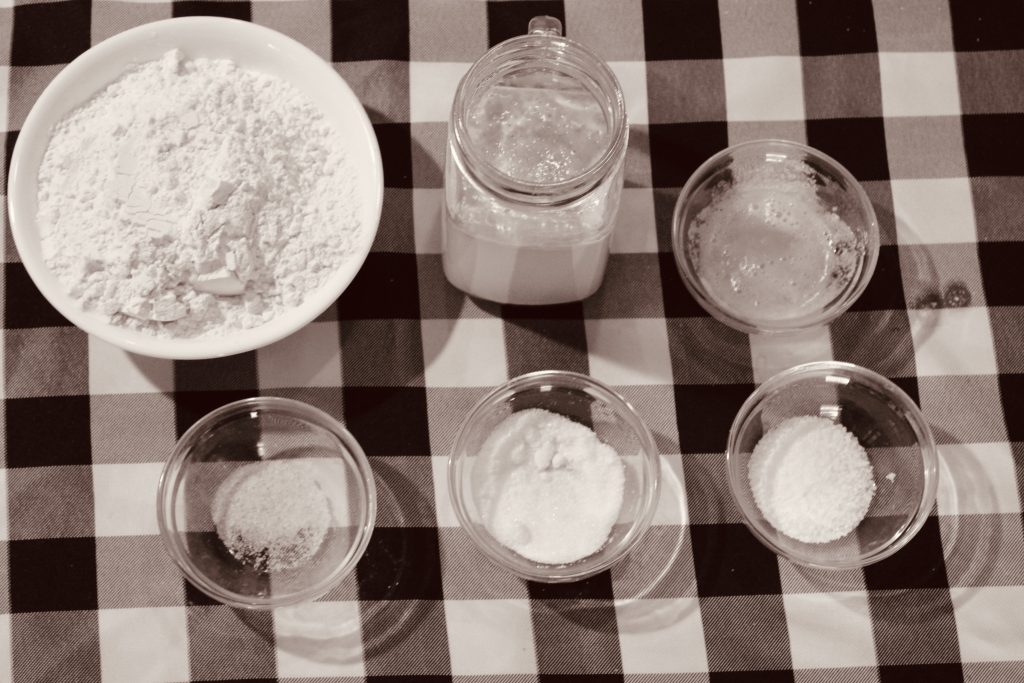
ingredients
- 1 and 1/2 cups (360ml) warm water (lukewarm, no need to take temperature)
- 1 packet active dry or instant yeast (2 and 1/4 teaspoons)
- 1 teaspoon salt
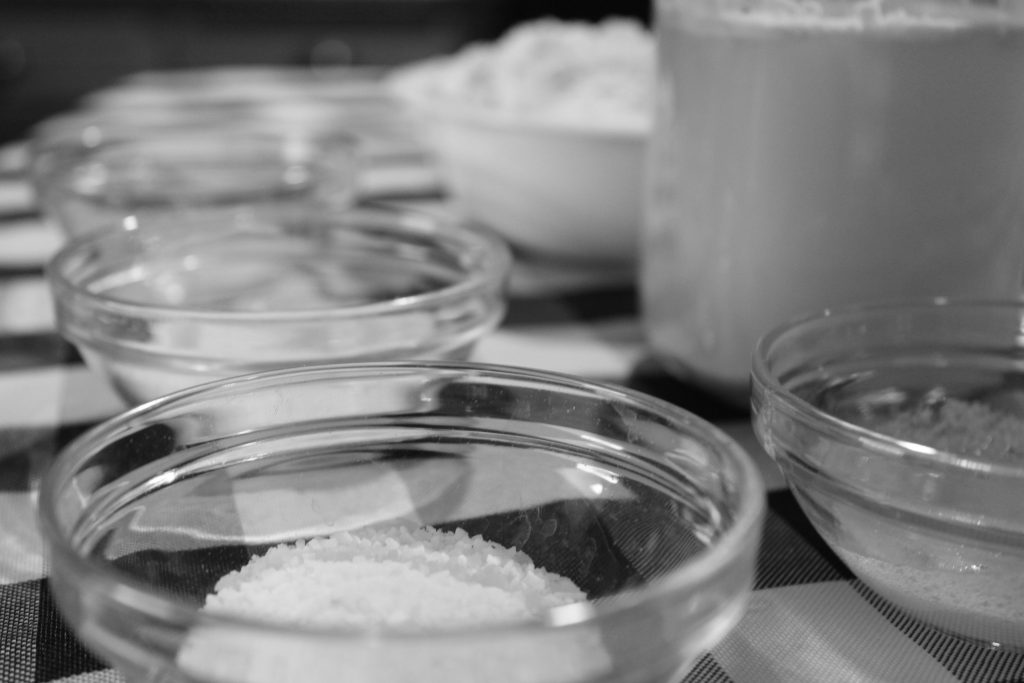
- 1 Tablespoon (8g) granulated sugar
- 3 and 3/4 – 4 cups (469-500g) all-purpose flour (spoon & leveled), plus more for work surface
- 1 large egg, beaten
- coarse sea salt, for sprinkling
directions
Preheat oven to 425°F (218°C). Line baking sheet with a silicone baking mat or parchment paper. The pretzels can stick to parchment, so give it a light spray with nonstick spray or lightly grease with butter. Set aside.
Dissolve yeast in warm water. Stir with a spoon until fairly mixed, about 1 minute. Some clusters of yeast will remain. Add salt and sugar; stir until fairly combined. Slowly add 3 cups of flour, 1 cup at a time. Mix with a wooden spoon until dough is thick. Add 3/4 cup more flour until the dough is no longer sticky. If it is still sticky, add up to 1/2 cup more. Poke the dough with your finger – if it bounces back, it is ready to knead.
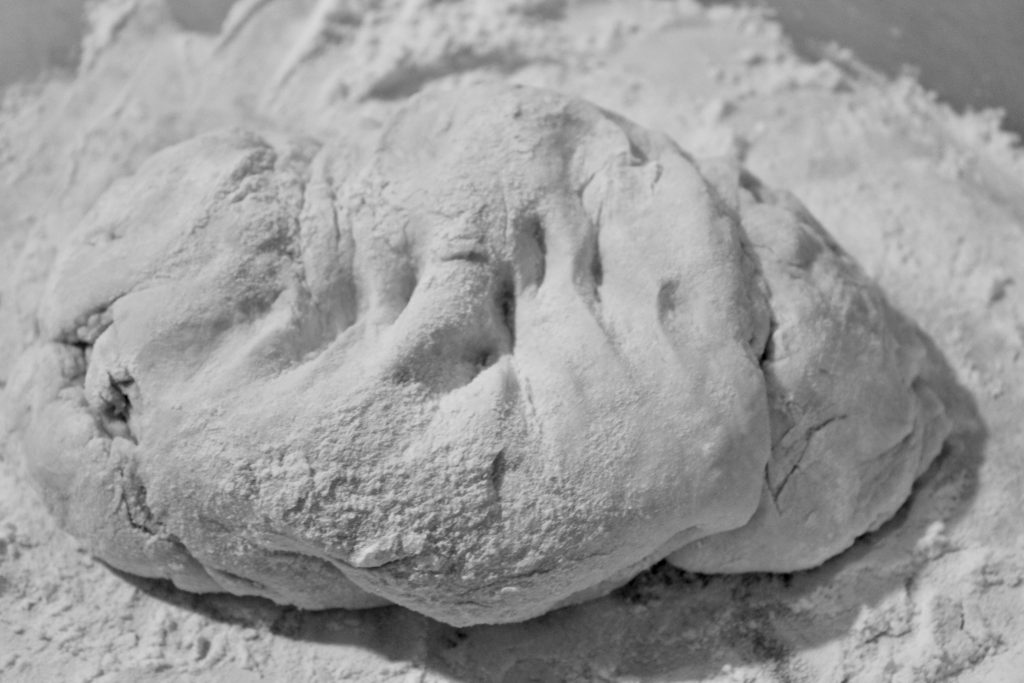
Turn the dough out onto a floured surface. Knead the dough for about 3 minutes and shape into a ball. With a sharp knife, cut ball of dough into 1/3 cup sections. This measurement does not have to be exact – use as much or little dough for each pretzel as you wish – the size of the pretzel is completely up to you.
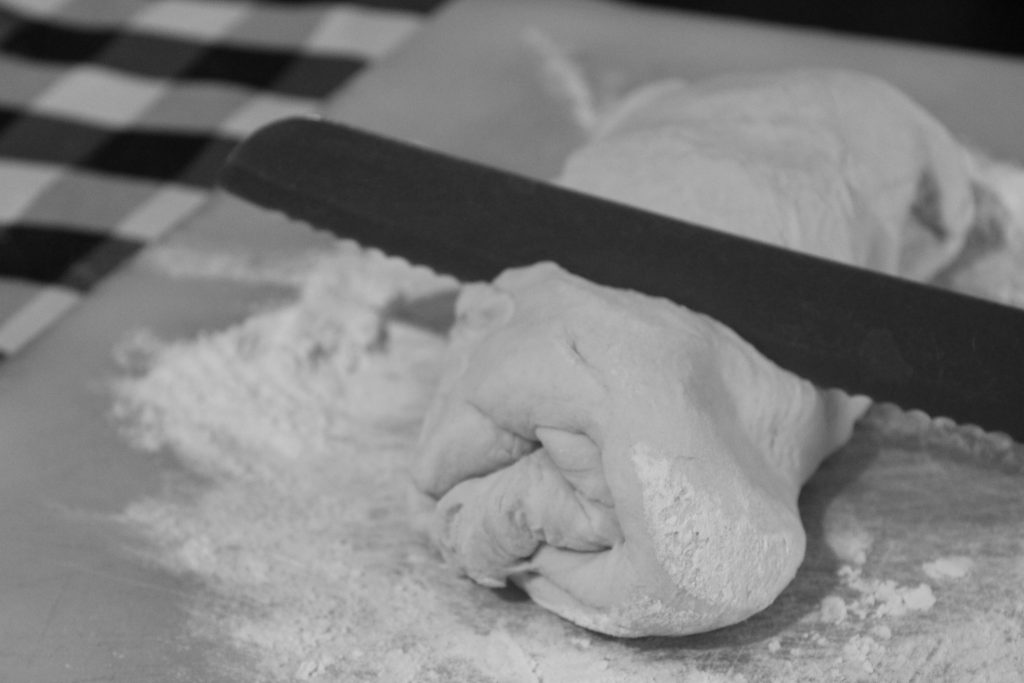
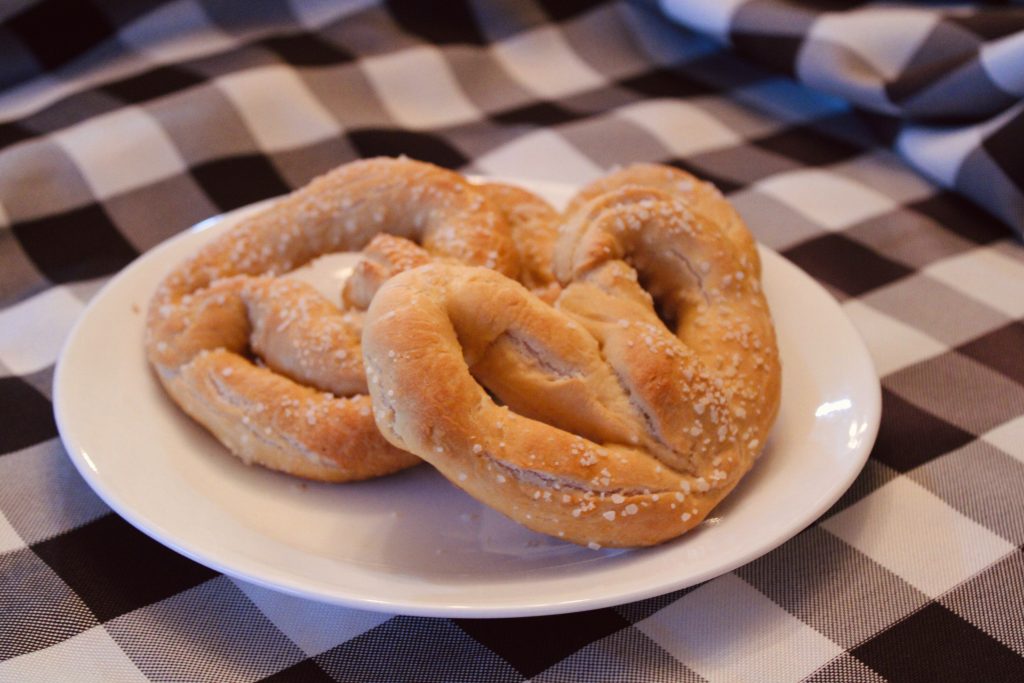
Roll the dough into a rope with an even diameter. My ropes were twenty inches long. This measurement will depend how large you want the pretzels. Once you have your long rope, take the ends and draw them together so the dough forms a circle. Twist the ends, then bring them towards yourself and press them down into a pretzel shape.
This fifth step is optional: Whisk 9 cups of water and 1/2 cup baking soda together in a large pot. Bring to a boil. Place a pretzel onto a large slotted spatula and dip into the boiling water for 20-30 seconds. Any more than that and your pretzels will have a metallic taste. The pretzel will float. Lift the pretzel out of the water and allow as much of the excess water to drip off. Place pretzel onto prepared baking sheet. Repeat with the rest of the pretzels.

In a small bowl, beat the egg and pour into a shallow bowl or pie dish. Dunk the shaped pretzel into the egg wash (both sides). Place on baking sheet and sprinkle with salt.
Bake for 10 minutes at 425°F (218°C). Turn the oven to broil and bake for 5 more minutes to brown the tops. Watch closely to avoid burning. I do the 5 minute broil no matter if I do step 5 or not.
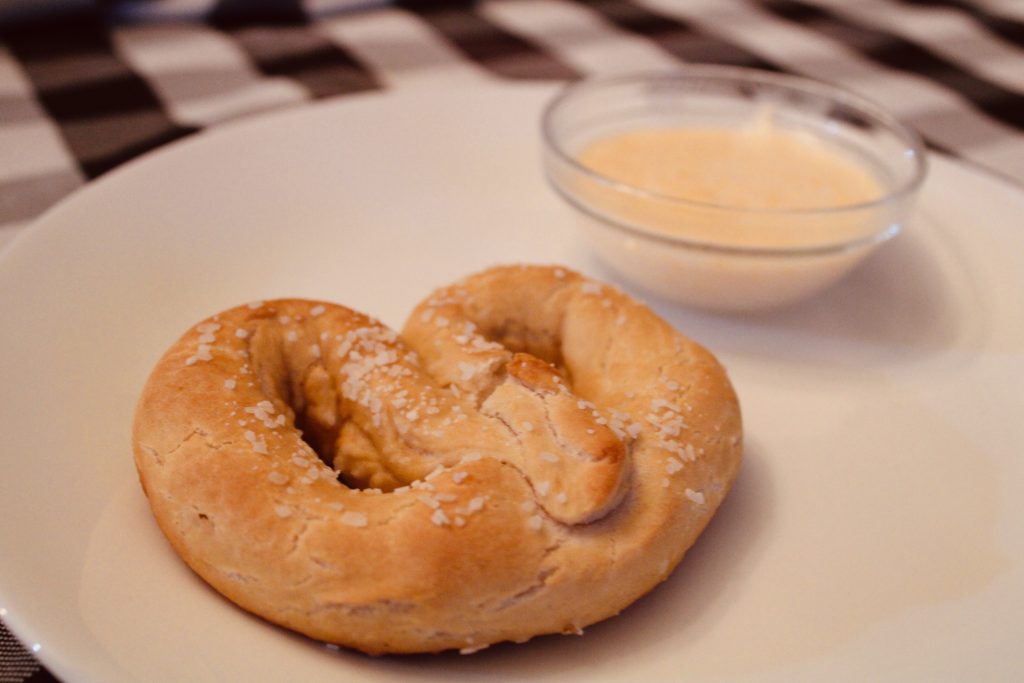
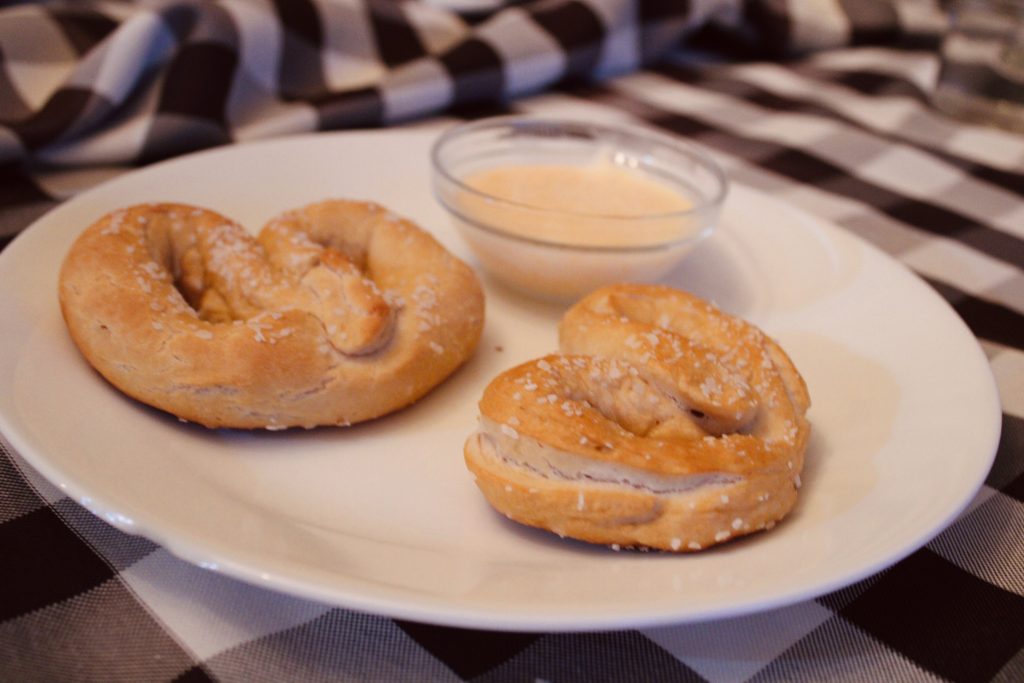
Allow to cool and enjoy! Serve warm or at room temperature with cheese sauce, plain, or cinnamon sugar (see below for notes!).
notes
- Pretzels may be stored in an airtight container or zipped top bag for up to 3 days (will lose softness).
- Make Ahead & Freezing Instructions: Pretzels freeze well, up to 2 months. To reheat, bake frozen pretzels at 350°F (177°C) for 20 minutes or until warmed through. The prepared pretzel dough can be refrigerated for up to one day or frozen in an airtight container for 2-3 months. Thaw frozen dough in the refrigerator overnight. Refrigerated dough can be shaped into pretzels while still cold, but allow some extra time for the pretzels to puff up before the baking soda bath and baking.
- Cinnamon Sugar Pretzels: Skip the coarse salt topping. Bake as directed. Meanwhile, melt 4 Tablespoons (60g) of unsalted or salted butter (your choice). Brush the baked and warm pretzels with melted butter then dip the tops into a mix of cinnamon and sugar. I usually use 3/4 cup (150g) of granulated sugar and 1 and 1/2 teaspoons cinnamon. Cinnamon sugar pretzels are best served that day because due to the melted butter topping, they become soggy after a few hours.
Credit for this recipe: https://sallysbakingaddiction.com/30-minute-whole-wheat-pretzels/
your turn!
After writing this post, I want to go make these again, haha. Maybe I will. 😉 Before you go, I’d love to hear your answers to these questions in the comments. . .
Have you ever made pretzels before? What’s your favorite snack? Are you going to try to make these pretzels soon?
Thank you so much for reading, my friends, and happy baking!

Ooh these look delicious! Awesome post Pearl!
They were quite good. 😋 Thank you, girl!
I love pretzels! Those look so good!
Yay, thank you, Alannah!
Mmmm pretzels are the best! Great post Pearl!
I agree! Thanks, Mayim!
I LOVE soft pretzels! My mom made them a long time ago, but since I’ve been married, I haven’t made them. Thanks for sharing the recipe- I’m going to make them now!
Me too! Have fun making them. I’d love to hear what you think of the recipe and how they turned out!
Looks delicious! My mom sometimes makes soft pretzel buns. They’re like these, except rounder and more compact, so we can slice them open and make sandwiches. Can’t wait to try this recipe!
Pretzel buns are a great idea- we have bought them before and everyone loves them but I never thought of making them!
Oooh, I love pretzel buns, I’ll have to try to make them sometime. I hope you enjoy making these, Abby!
These look really good. I don’t think I ever had homemade soft pretzels before, and I would love to try it 🙂
What does step 5 do? Is it like to keep them moist?
I hope you can make them sometime!
It makes them golden and crispy on the outside, with a chewy on the inside texture. 😄
These look so yummy!!
They were! 😋
Yum! Homemade pretzels are the best!
I agree!
These were really, really good! Thanks for making them!
Of course! It was fun to make them.
They were wonderful…
Thanks, Dad! (:
Yummmm😍
They were delicious 😁
These look DELICIOUS!!! I will have to make them sometime 😀 My mom has made pretzels before but there were pretty small ;P
I literally just made these and they are *amazing!* Just as good as shopbought, if not better! So easy and step five is definitely worth it.
Thank you so much for sharing this, Pearl! I’d given up on ever making pretzels at home until I saw this! <:
I am so glad that they turned out well!! I agree; step 5 is so simple but makes them SO good. Thank you so much for commenting & I’m glad they turned out well!!